
Introduction
Power Pages is a helpful tool that makes it easy to create websites using low-code development. It also allows for rich integration with other Power Platform solutions.
Recently, I had a requirement to use editable grids within Power Pages for list data. I managed to find some documentation on using code components for Power Pages here: https://learn.microsoft.com/en-us/power-pages/configure/tutorial-pcf-code
Reading this, I found it confusing to understand as I felt it lacked clarity on whether you could in fact use editable grids.
To help streamline the process and save you time, I have put together a quick guide on how to use an editable grid in your Power Pages lists.
Add the Editable Grid component to your desired table
I am using the Accounts table with a solution called “Test solution” for this demonstration.
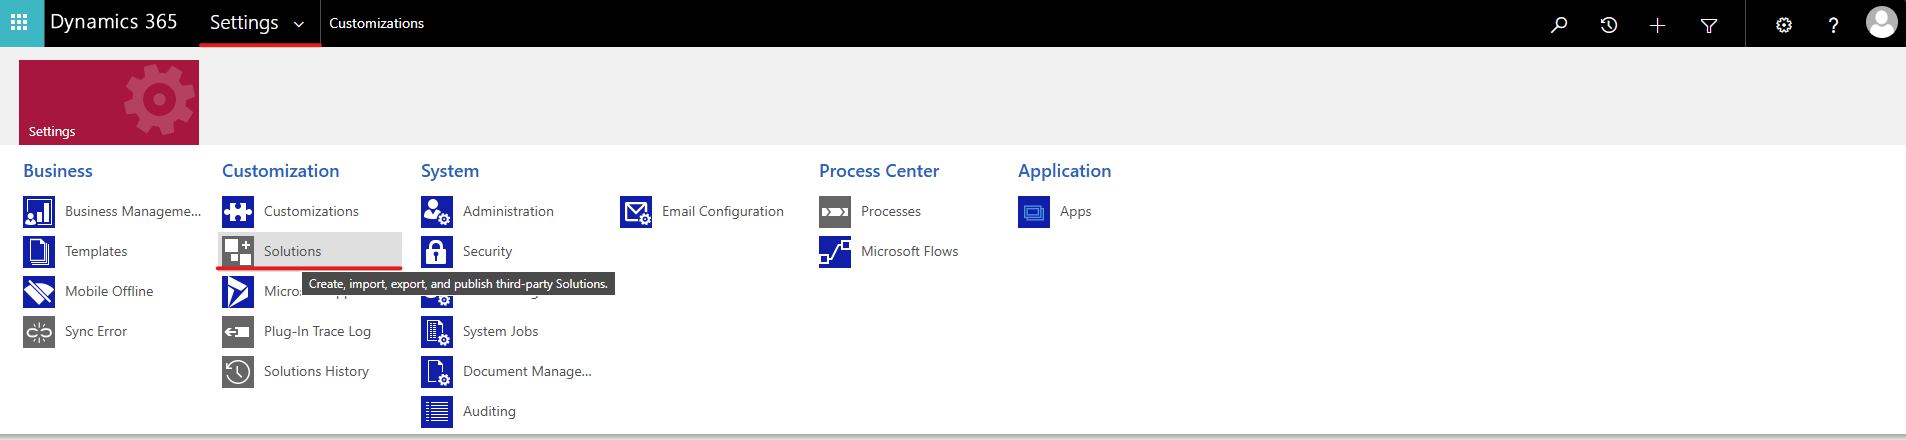
- Navigate to classic settings by selecting your environment, going to settings and clicking "All legacy settings" within the Admin centre (https://admin.powerplatform.microsoft.com/)

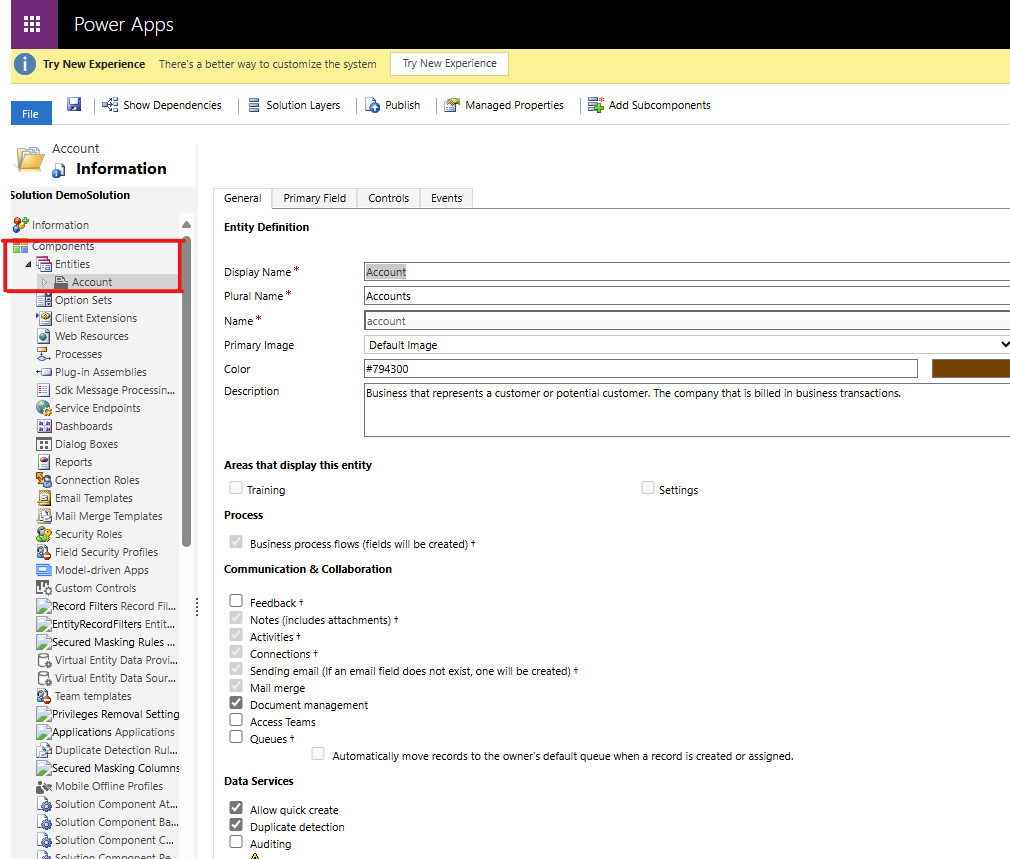
- Navigate to customizations from the settings dropdown, select "Solutions", select your solution and then double click the Account Table (also called Entity).
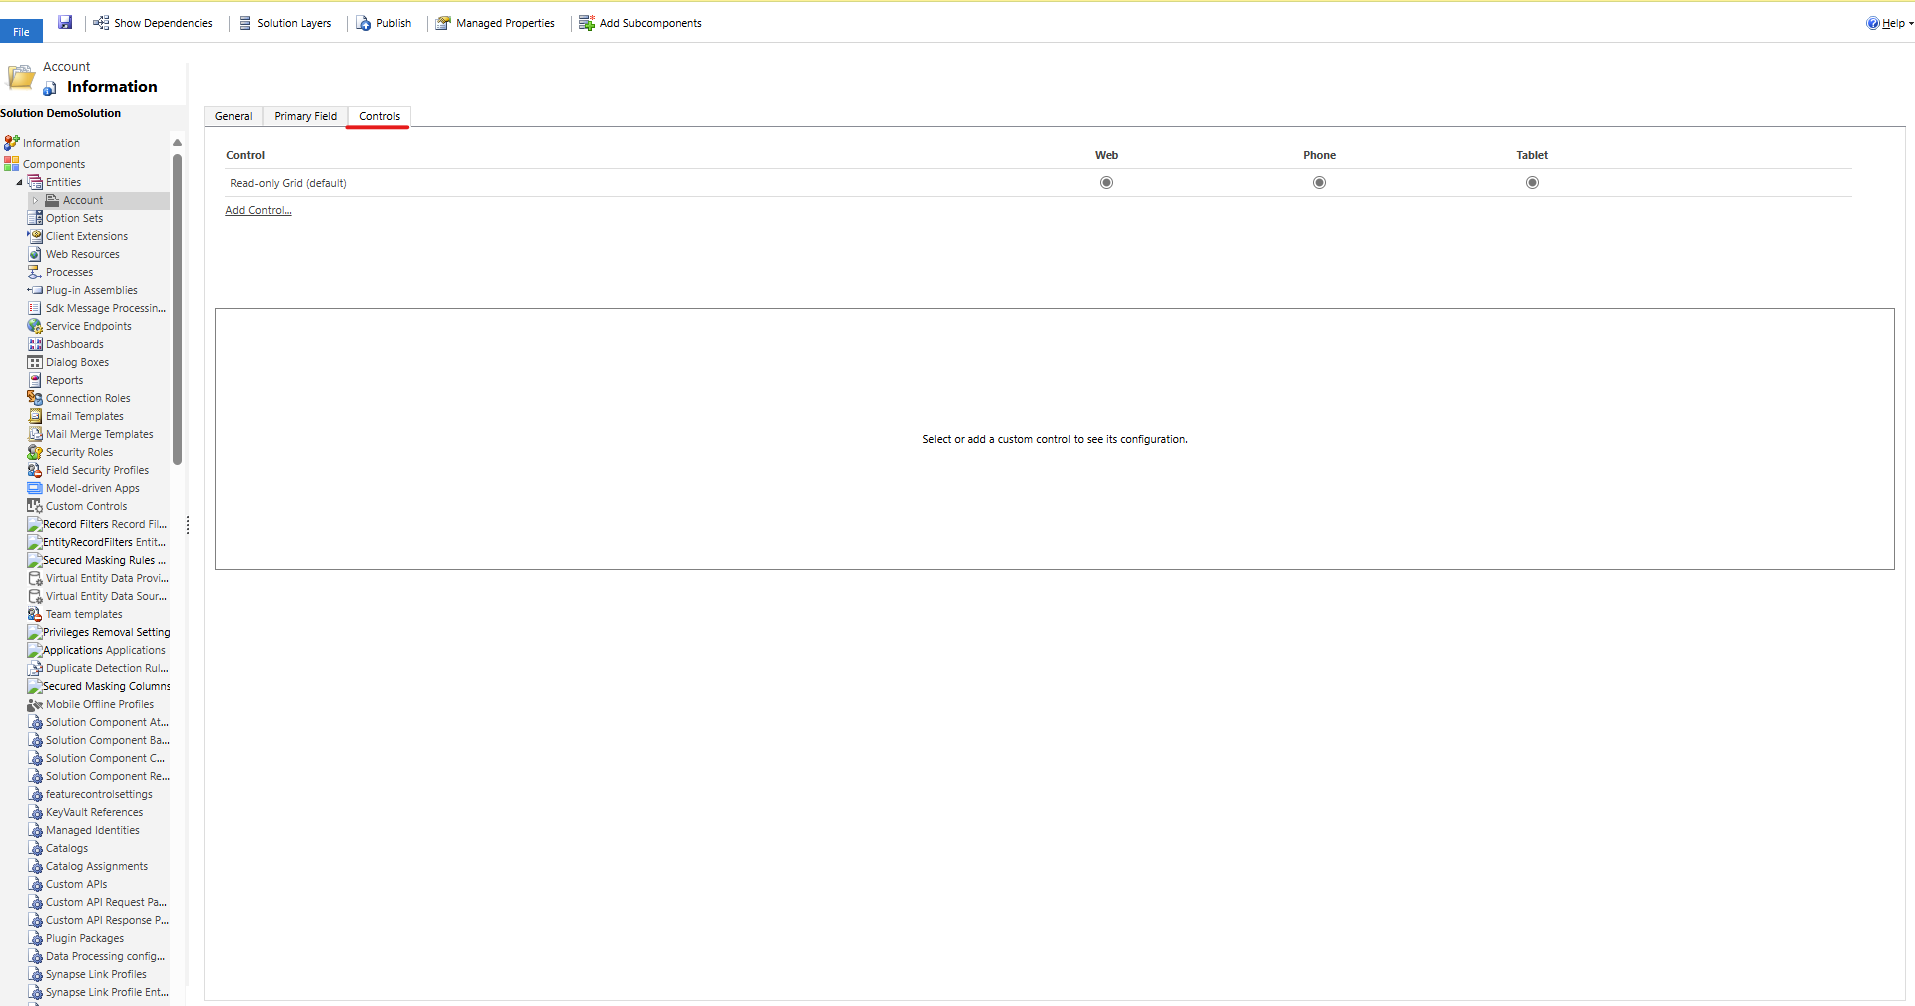
- Click the Controls tab and then Add Control…
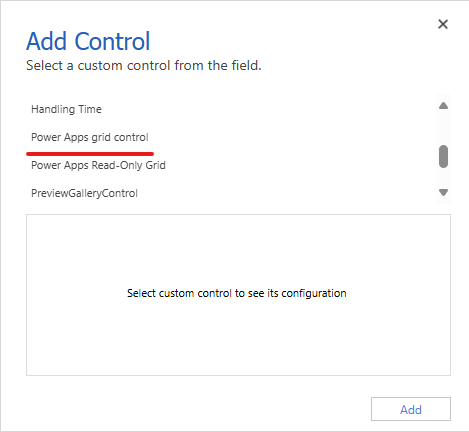
- In the Add control menu, search for and select the PowerApps grid control, then click Add.
5. Ensure that the Power Apps grid control is enabled for Web and Phone/Tablet if required.

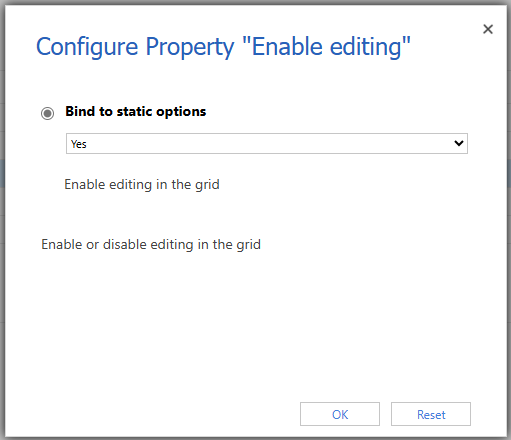
- Select the control to bring up the properties.
- Set the value of Enable editing to “Yes”. You can enable other properties too if required, and I recommend you check out the documentation to find out which each property does.

- Click Save, and then click Publish

Add the component to Portal Management
Now we have our editable grid added to our table, we need to configure Power Pages to use it. The first step is to add a new List so it can then be selected when adding it to our page.
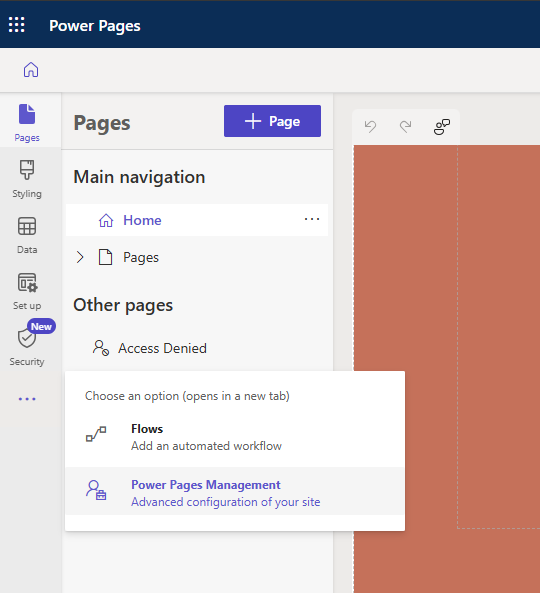
- Navigate to make.powerpages.microsoft.com
- Select the ellipses against your site and select Portal management
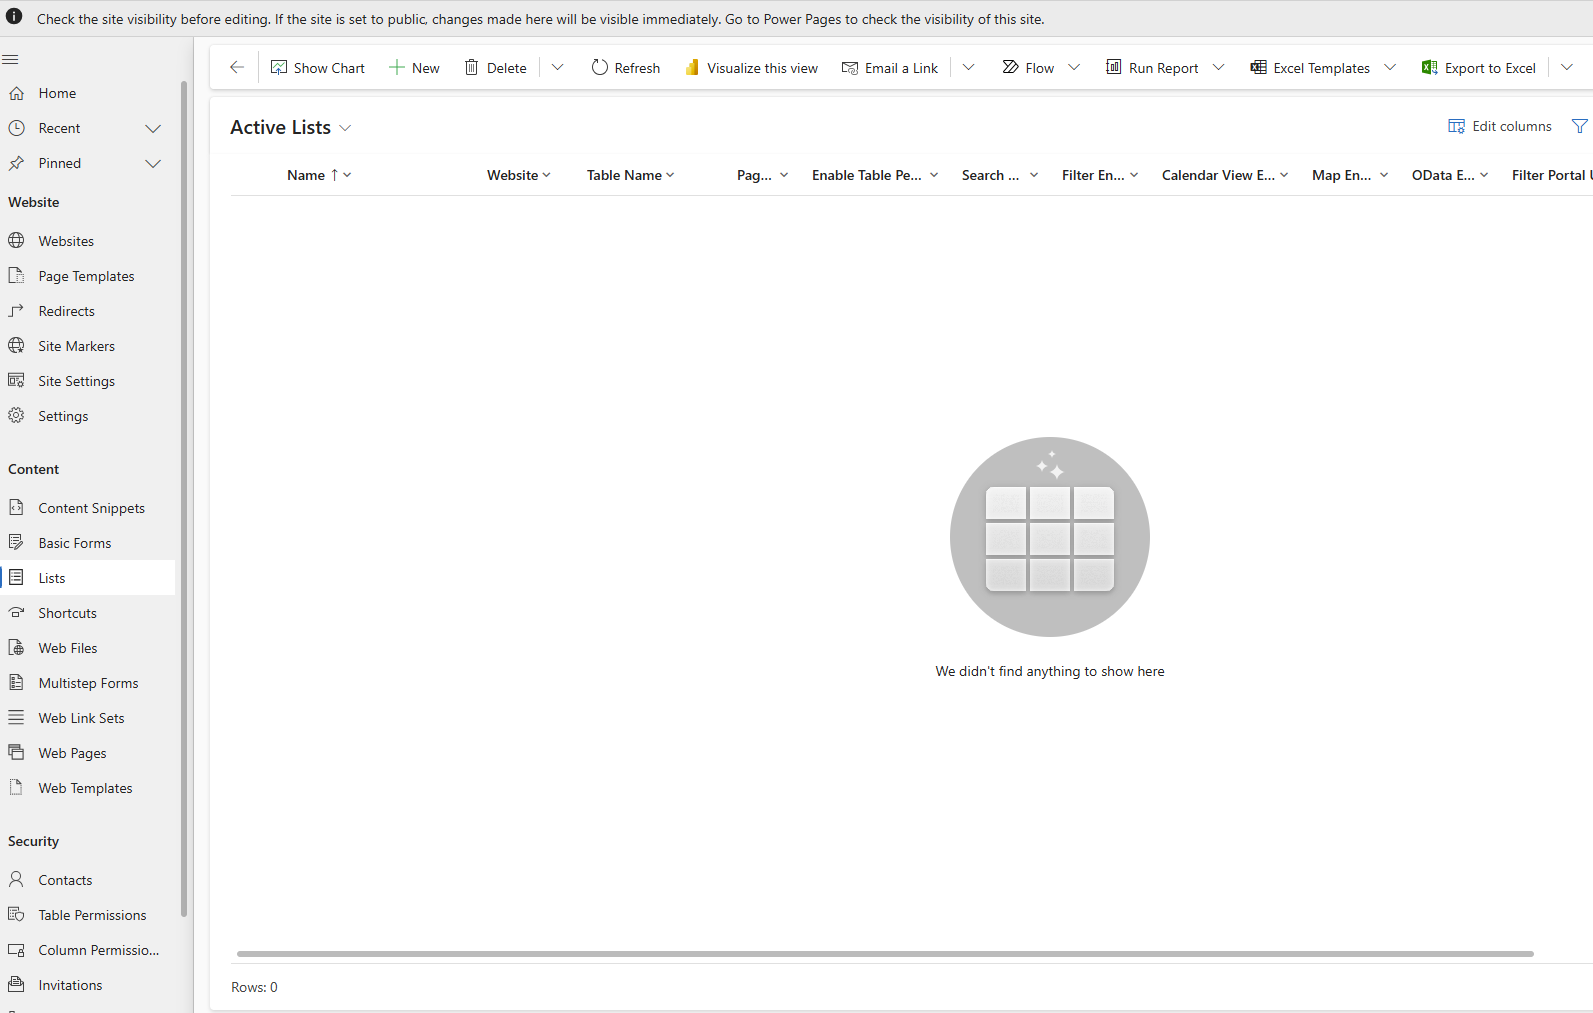
- Under Content, go to Lists, click New
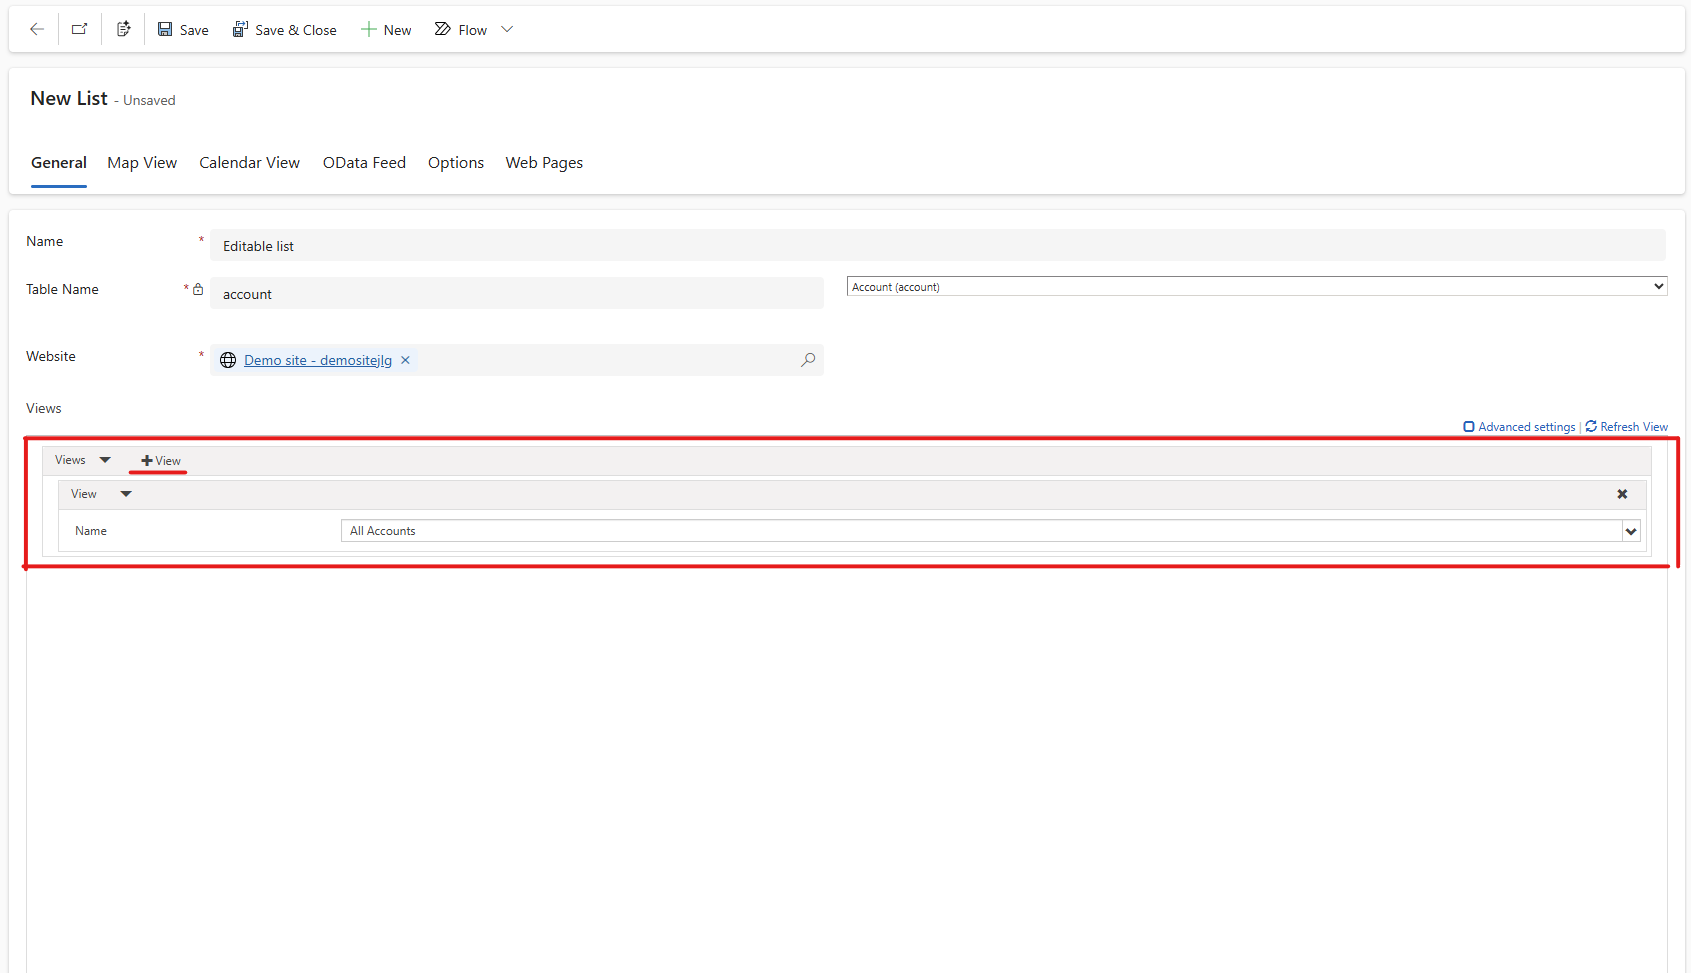
- Give your List a Name, select the Table, and the website
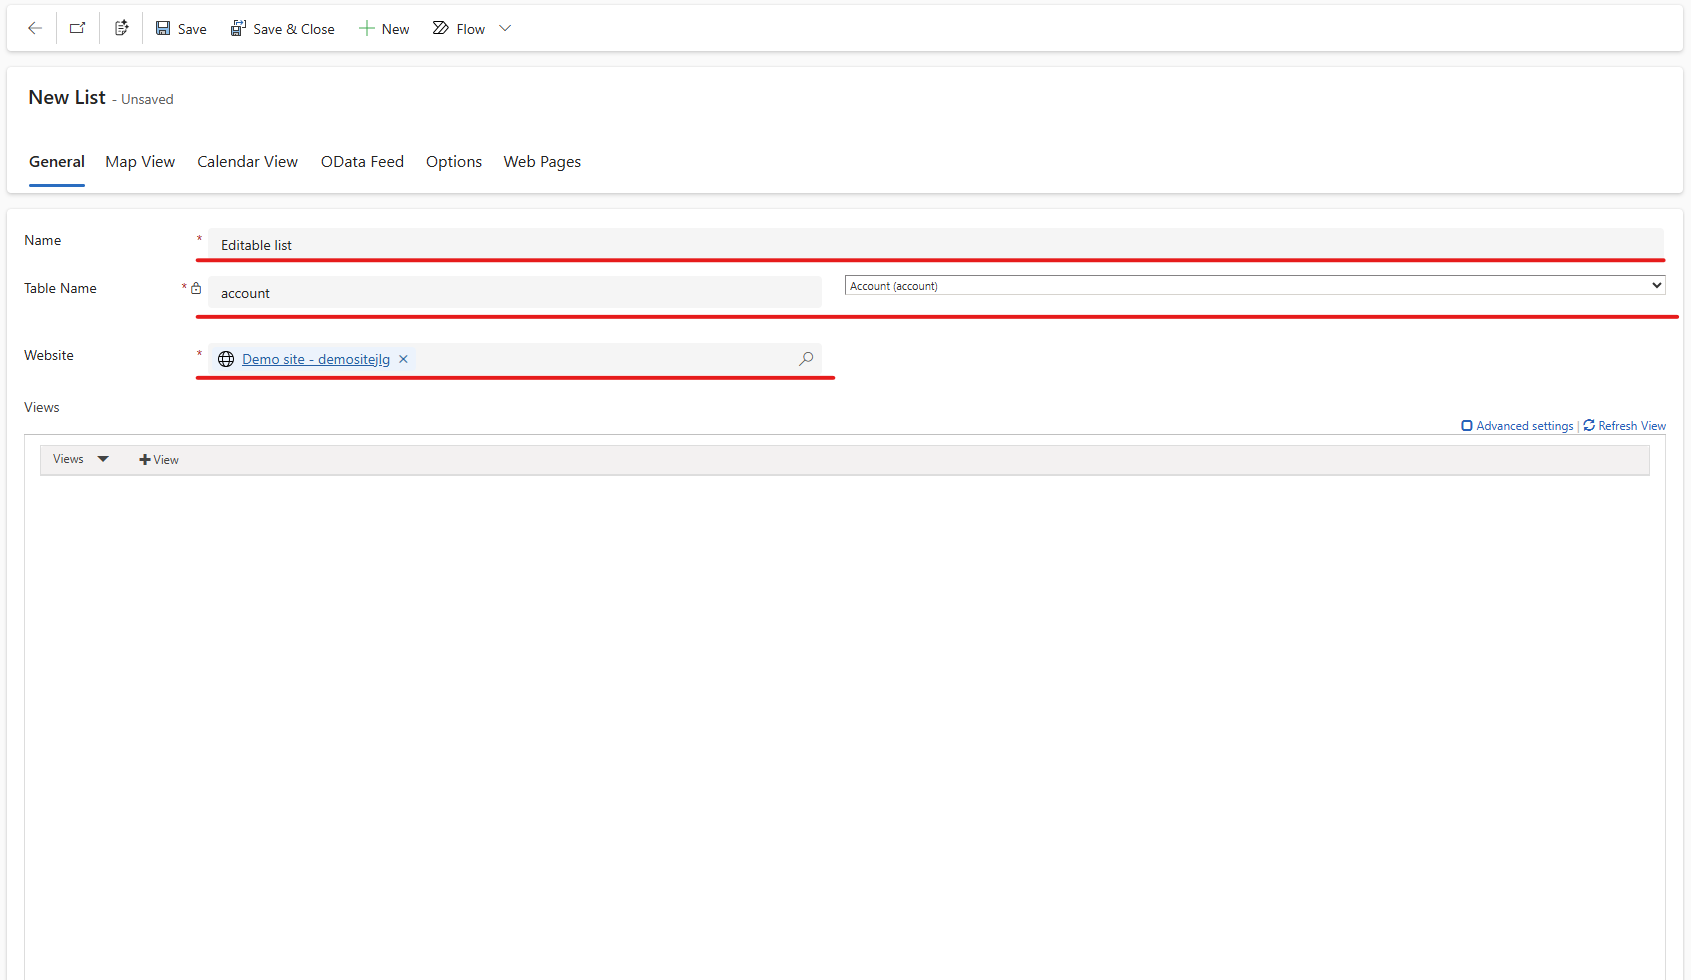
- Add your views
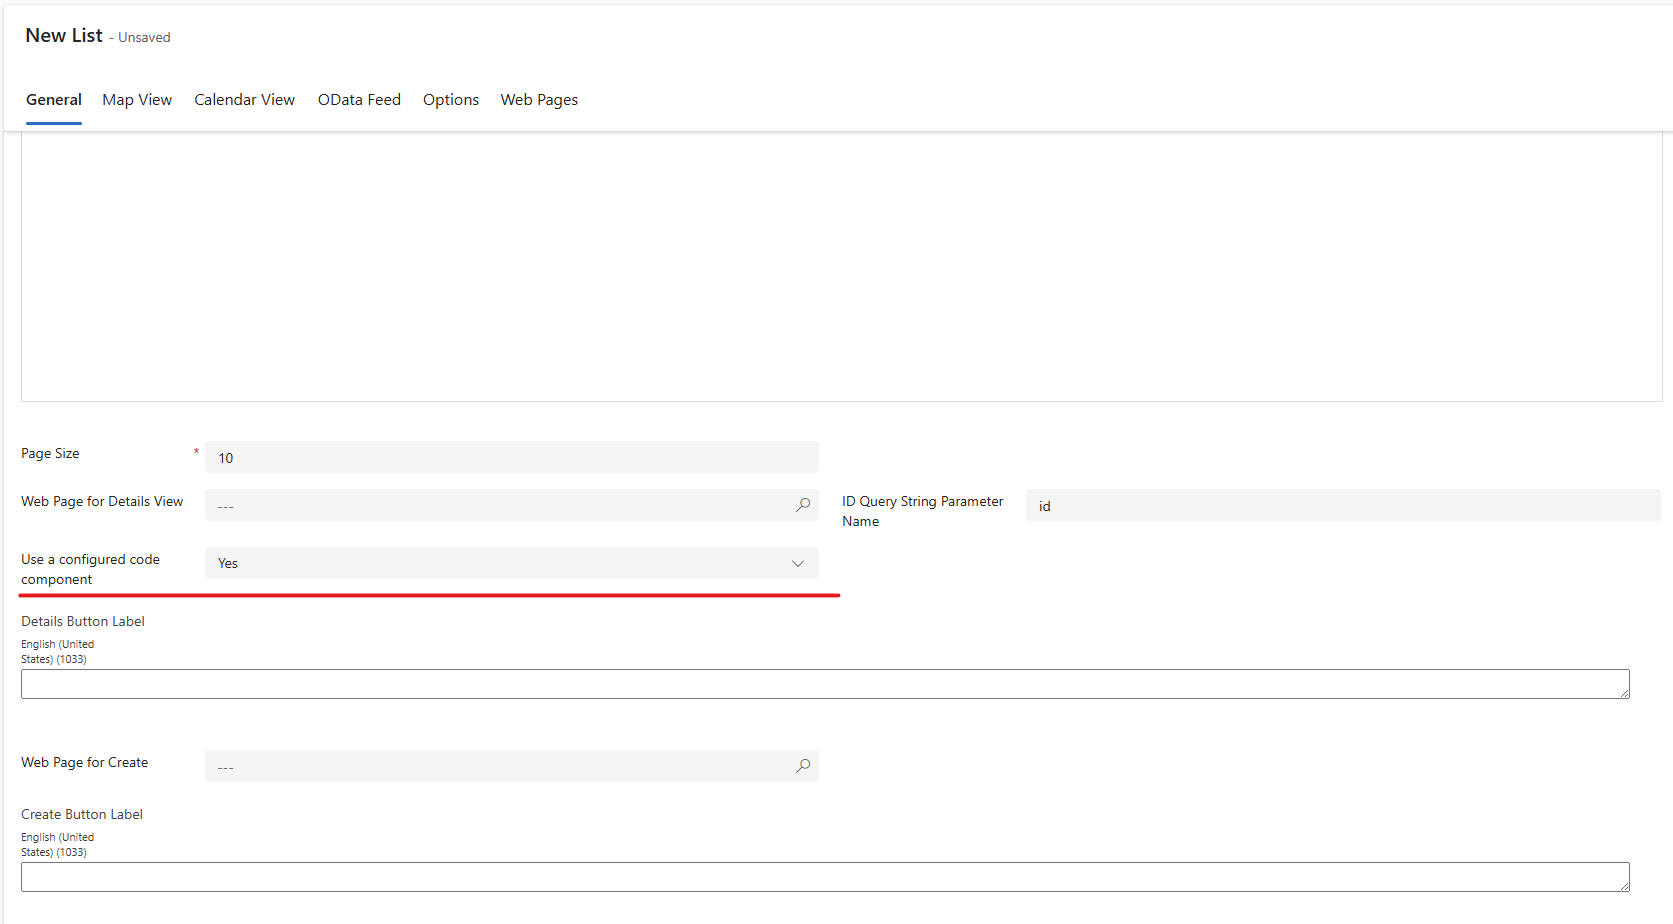
- Scroll down and make sure that "Use a configured code component" is set to yes. You can change other properties here as needed, and then click Save and Close.
Add the editable grid to your page
The final step is to add the list to our page and test it out.
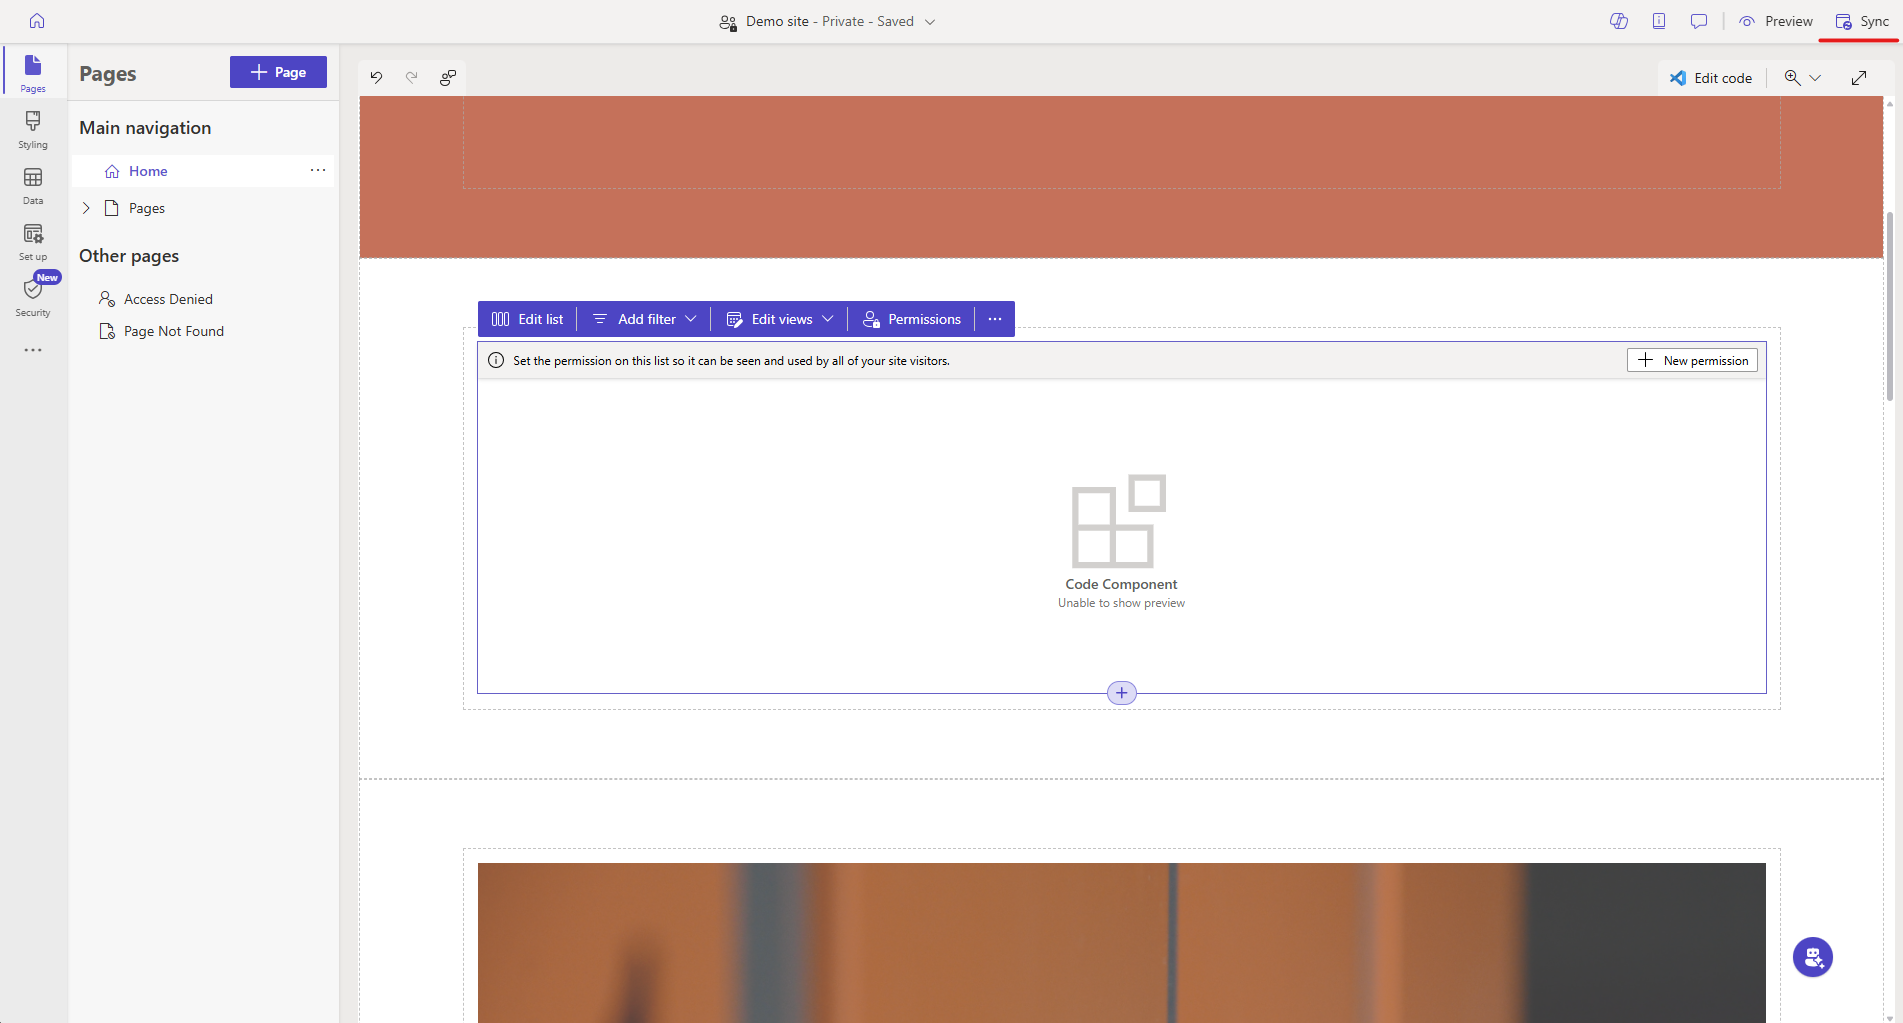
- Navigate back to your Power Page site and edit it
- Go to the page where you wish to add the editable grid. In my example I have added this to the Home page in a new section.
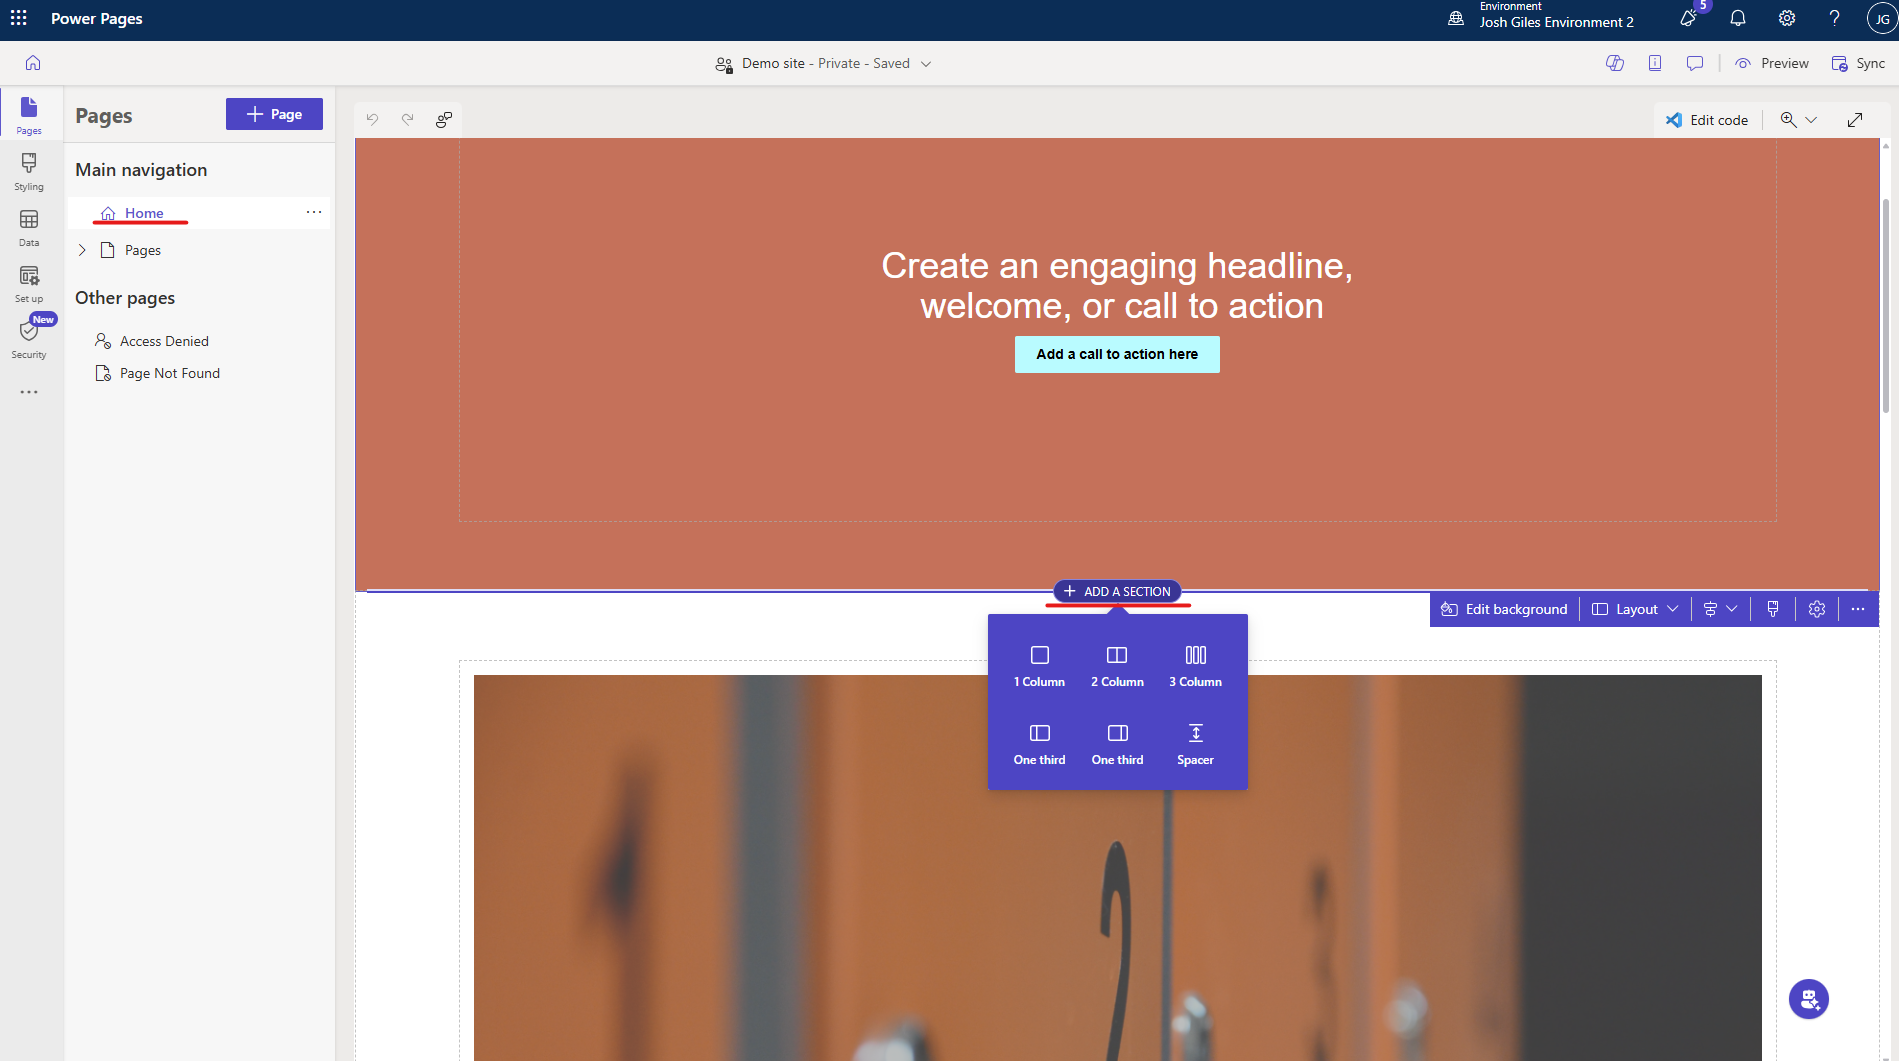
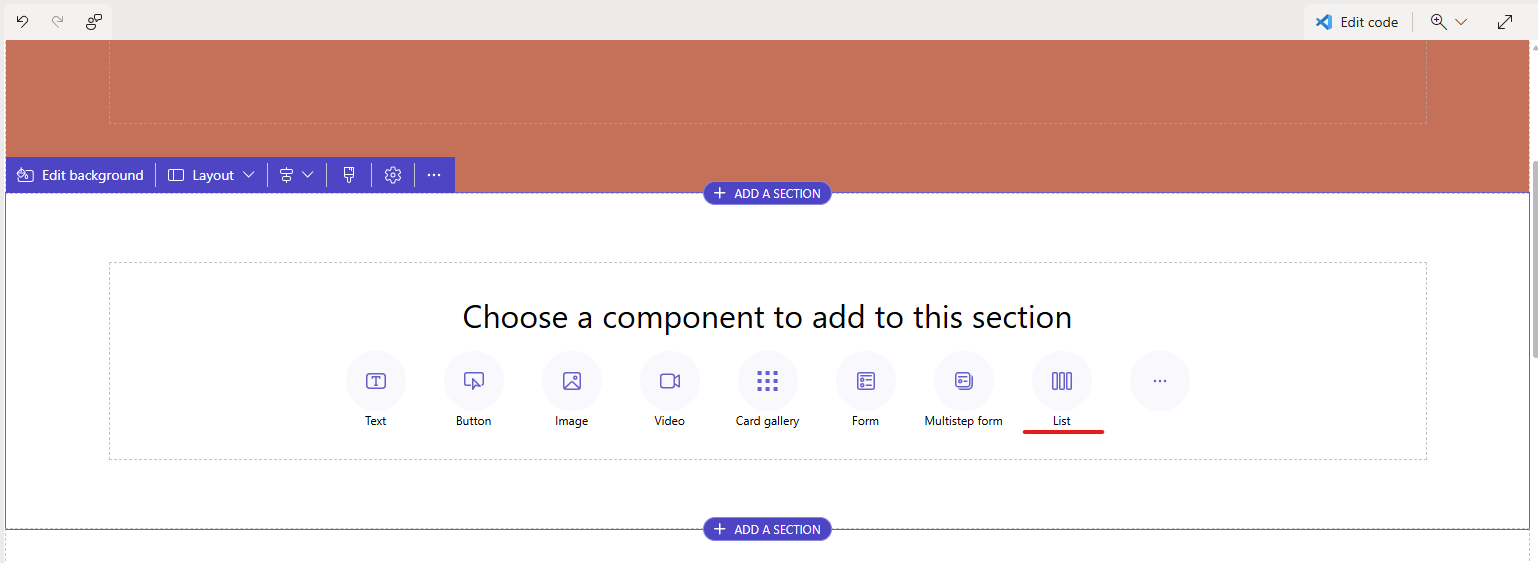
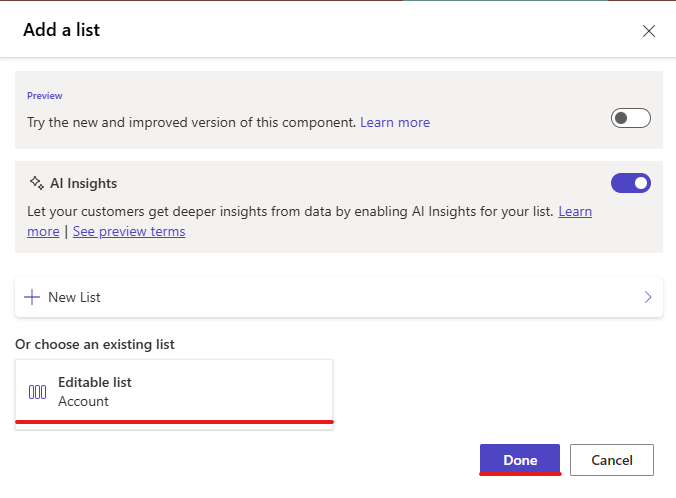
- Add a List to the page under the Choose a component to add to this section
- Select the list from the "Or choose an existing list" which should match up to the list name we created earlier. Note, this does not work if you use the new list component, so keep it disabled.
- Sync and preview your page, you should now see the editable grid displayed in the preview page.
Note: Remember to ensure that your users have permissions to update the list otherwise a permissions error will be displayed.
Conclusion
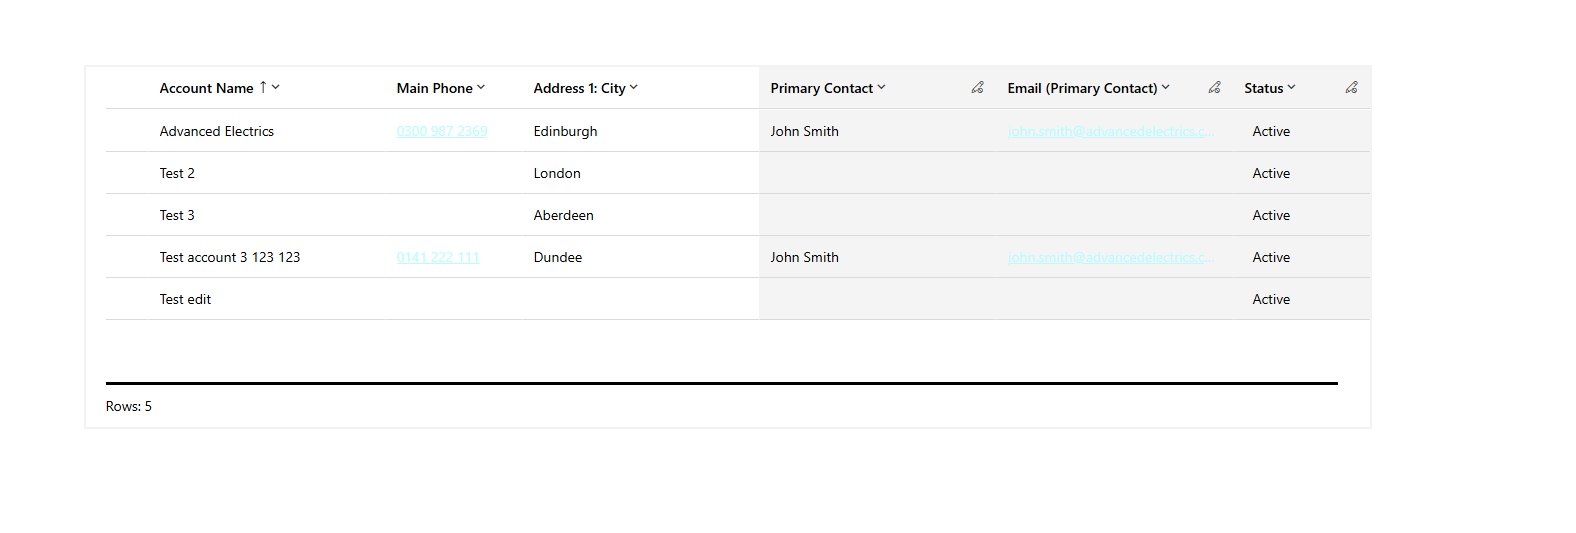
We should now be able to see our editable grid component in action:

Member discussion: