
Opening a custom page from the command bar opens up model-driven apps to some amazing possibilities. This "convergence" of apps is something I am particularly fond of and excited to see what else can be done to combine the best of the Canvas App and Model-Driven sides of the coin.
If, like me, you have used the modern command bar designer and custom pages, you will have quickly realised that you need to use Javascript to achieve certain tasks, such as opening different page types (a side pane for example), and this is an area I hope we'll see addressed in the future so that we can use PowerFx to navigate to custom pages with parameters.
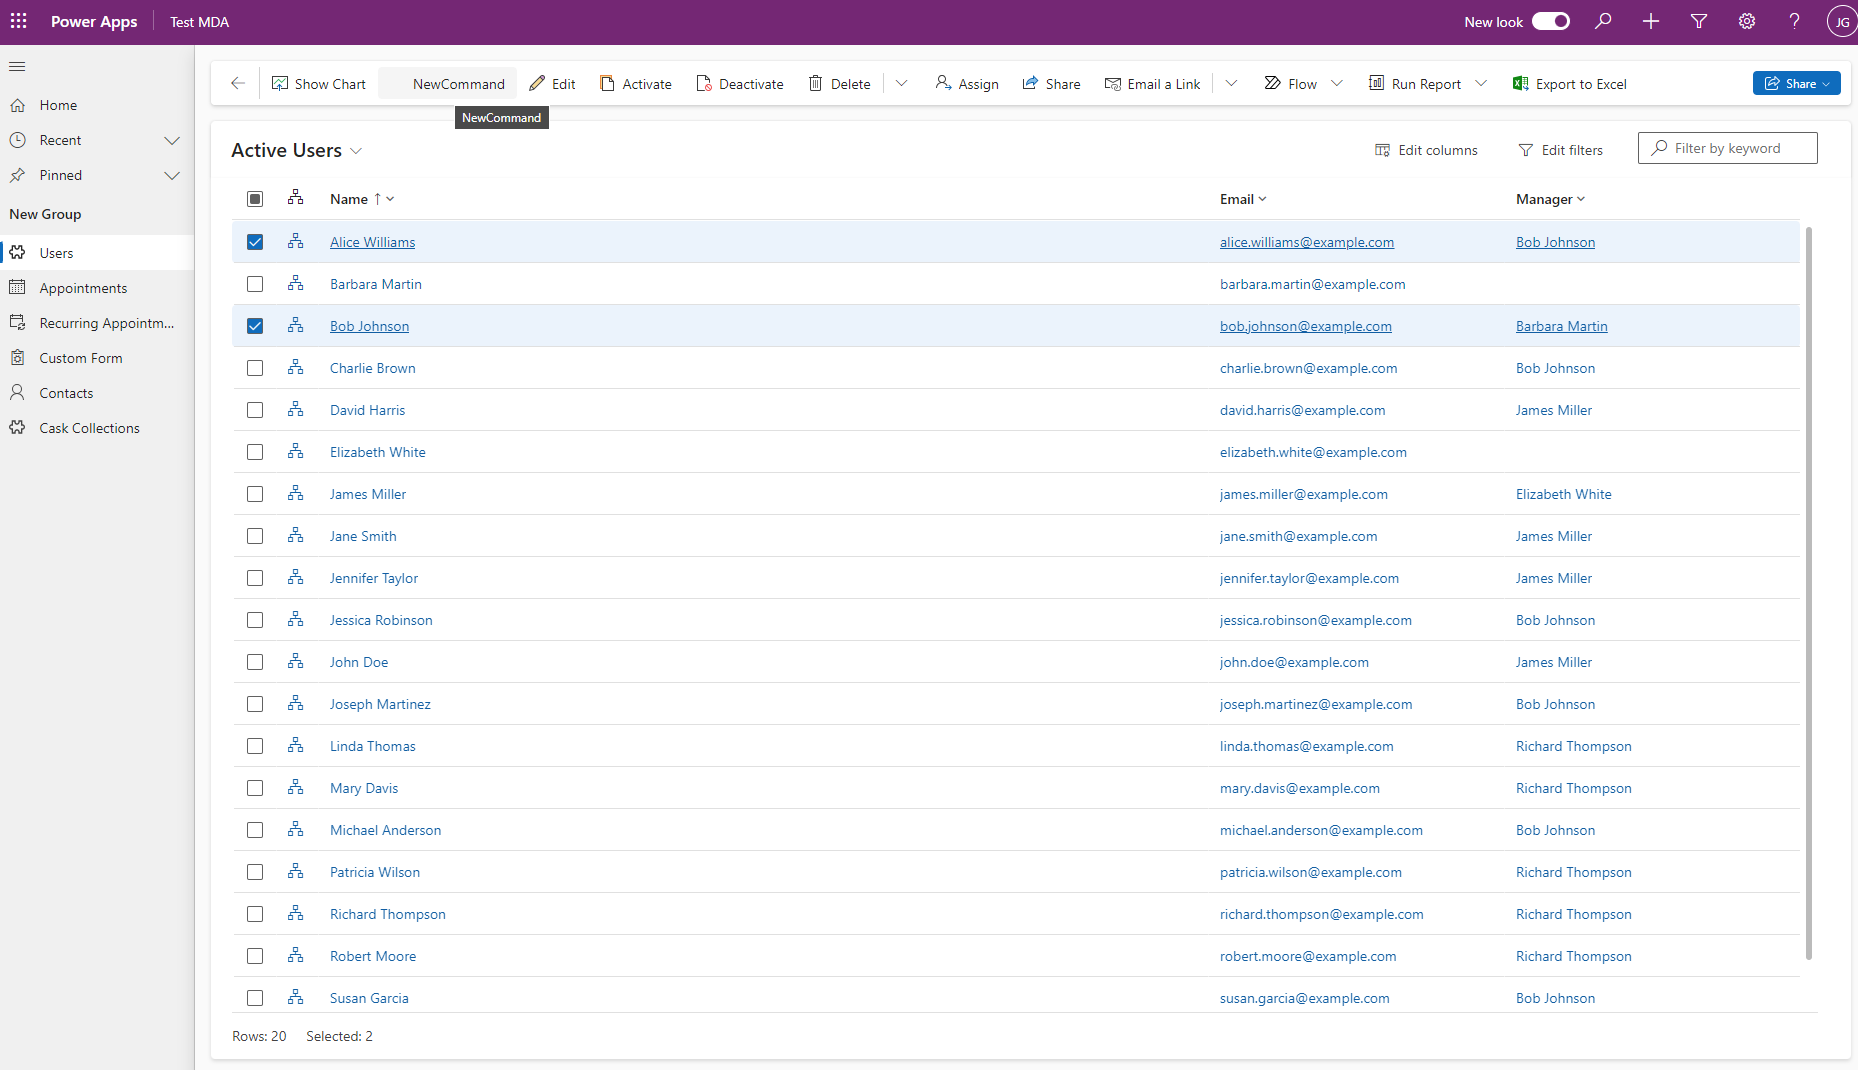
A recent requirement I encountered was to open a custom page from a grid view in model-driven apps with the option to select multiple items and pass these as parameters to the page.
Microsoft's official documentation provided a great starting point, but it doesn't mention how to open a page with context from multiple records.
This got me starting to investigate whether this was in fact possible and after some failed google attempts and nothing useful from copilot, I decided to poke around within the settings to see what parameters can be used in command bar buttons using Javascript.

You can make use of the the SelectedControlSelectedItemIds parameter and pass this to the record Id within JavaScript, and this will pass a comma delimited string of record GUIDs to your custom page. This opens up some great possibilities, and allows for the GUID's to be then formatted using PowerFX in the custom page to give us our records we need and present them in data tables or galleries.
The code
JavaScript can be daunting for some, especially if you don't come from a pro-code background. Thankfully this code required is very basic and you can find some great examples to get you up and running (quickly) on Microsoft's learn page here: https://learn.microsoft.com/en-us/power-apps/developer/model-driven-apps/clientapi/navigate-to-custom-page-examples.
We will need to expand on the examples provided so that we can pass multiple record Id's to our page. You can use the below code to achieve this:
function openCustomPageMultiple(selectedEntityTypeName, SelectedControlSelectedItemIds)
    {
            var pageInput = {
                pageType: "custom",
                name: "<Your custom page name here>",
                entityName: selectedEntityTypeName,
                recordId: SelectedControlSelectedItemIds,
            };
            var navigationOptions = {
                target: 1,
            };
            Xrm.Navigation.navigateTo(pageInput, navigationOptions)
                .then(
                    function () {
                        // Handle success
                    }
                ).catch(
                    function (error) {
                        // Handle error
                    }
                );
    }
You will notice that the code itself is extremely basic and the only deviation from the documented examples is wrapping the code in a function() and including the selectedEntityTypeName to get the table context and SelectedControlSelectedItemIds to get our record ids.
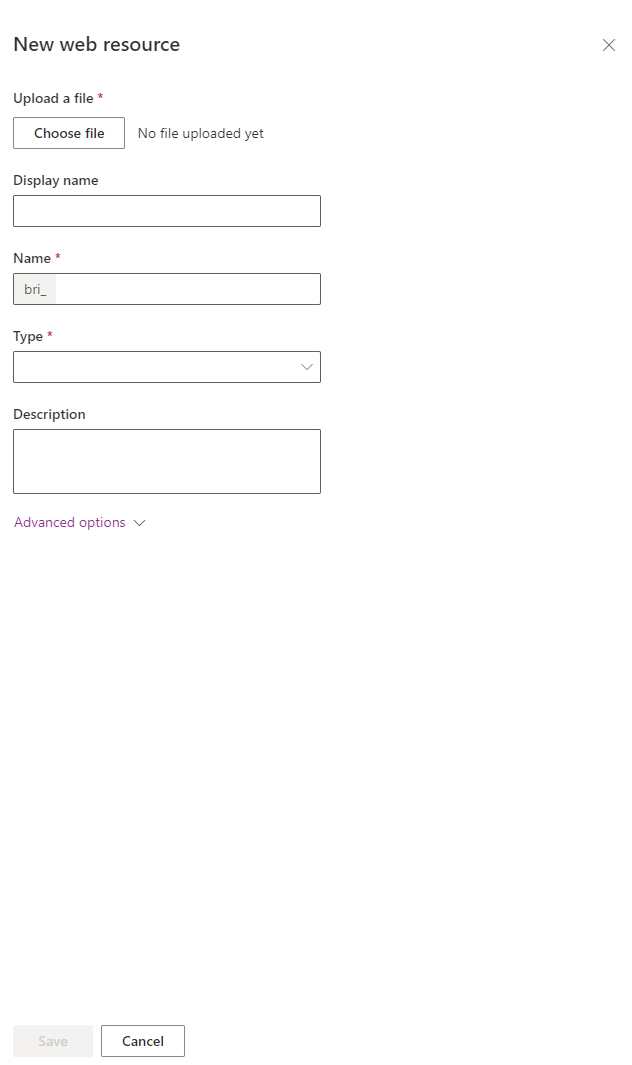
You will need to save the snippet above (keeping in mind to update the name to match the name of your custom page) as a .JS file and upload it as a webresource so that it can be added to your command bar button.
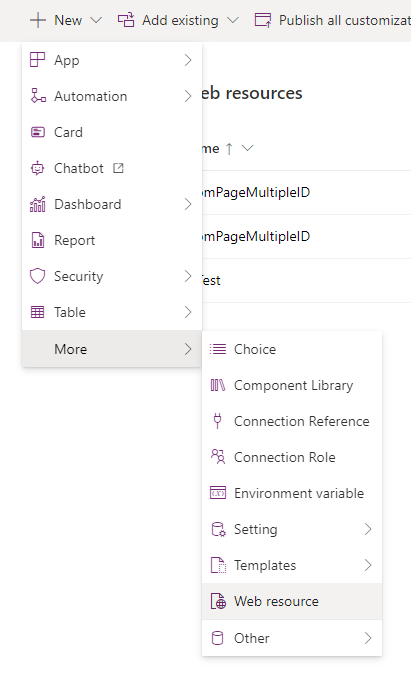
To add a new web resource, within Power Apps, create or navigate to a solution, and then click add new, then select web resource
Click upload and then select the .JS file you have saved.
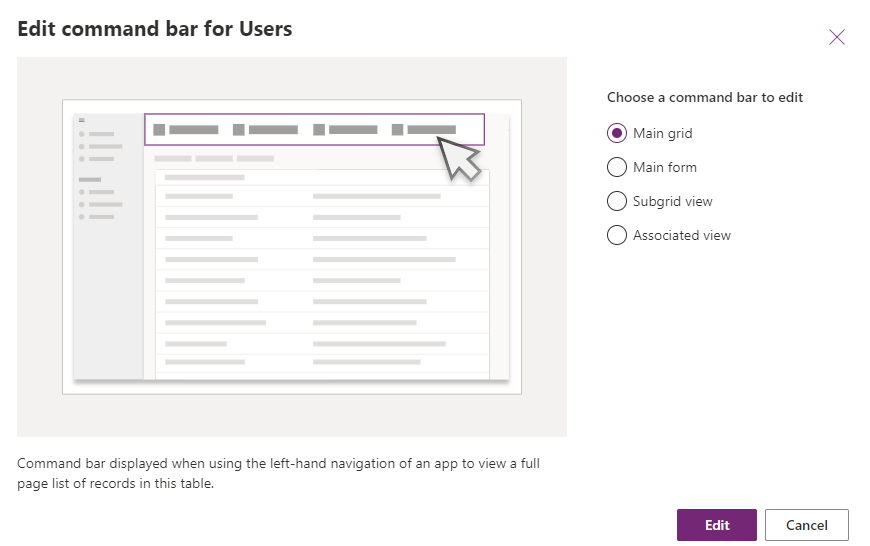
Next, create a command bar button, to do this, create or edit a model-driven app and add a table on which you would like the button to appear. Next, select the table from the navigation menu and select edit command bar.
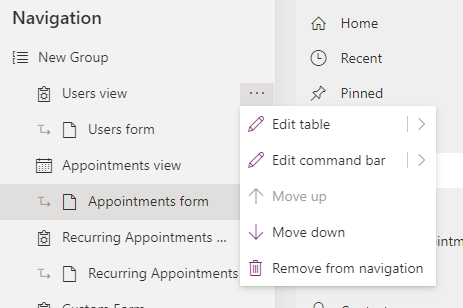
Select Main Grid and then next to open the command bar designer.
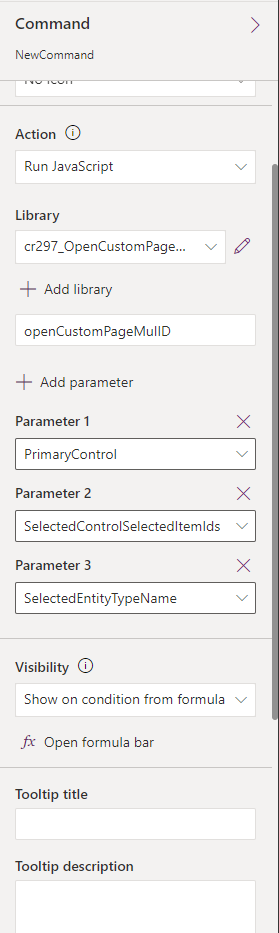
Next, add a new button, and then under action click add new library. Search for the web resource you added earlier and select it. Click Ok to save the change.
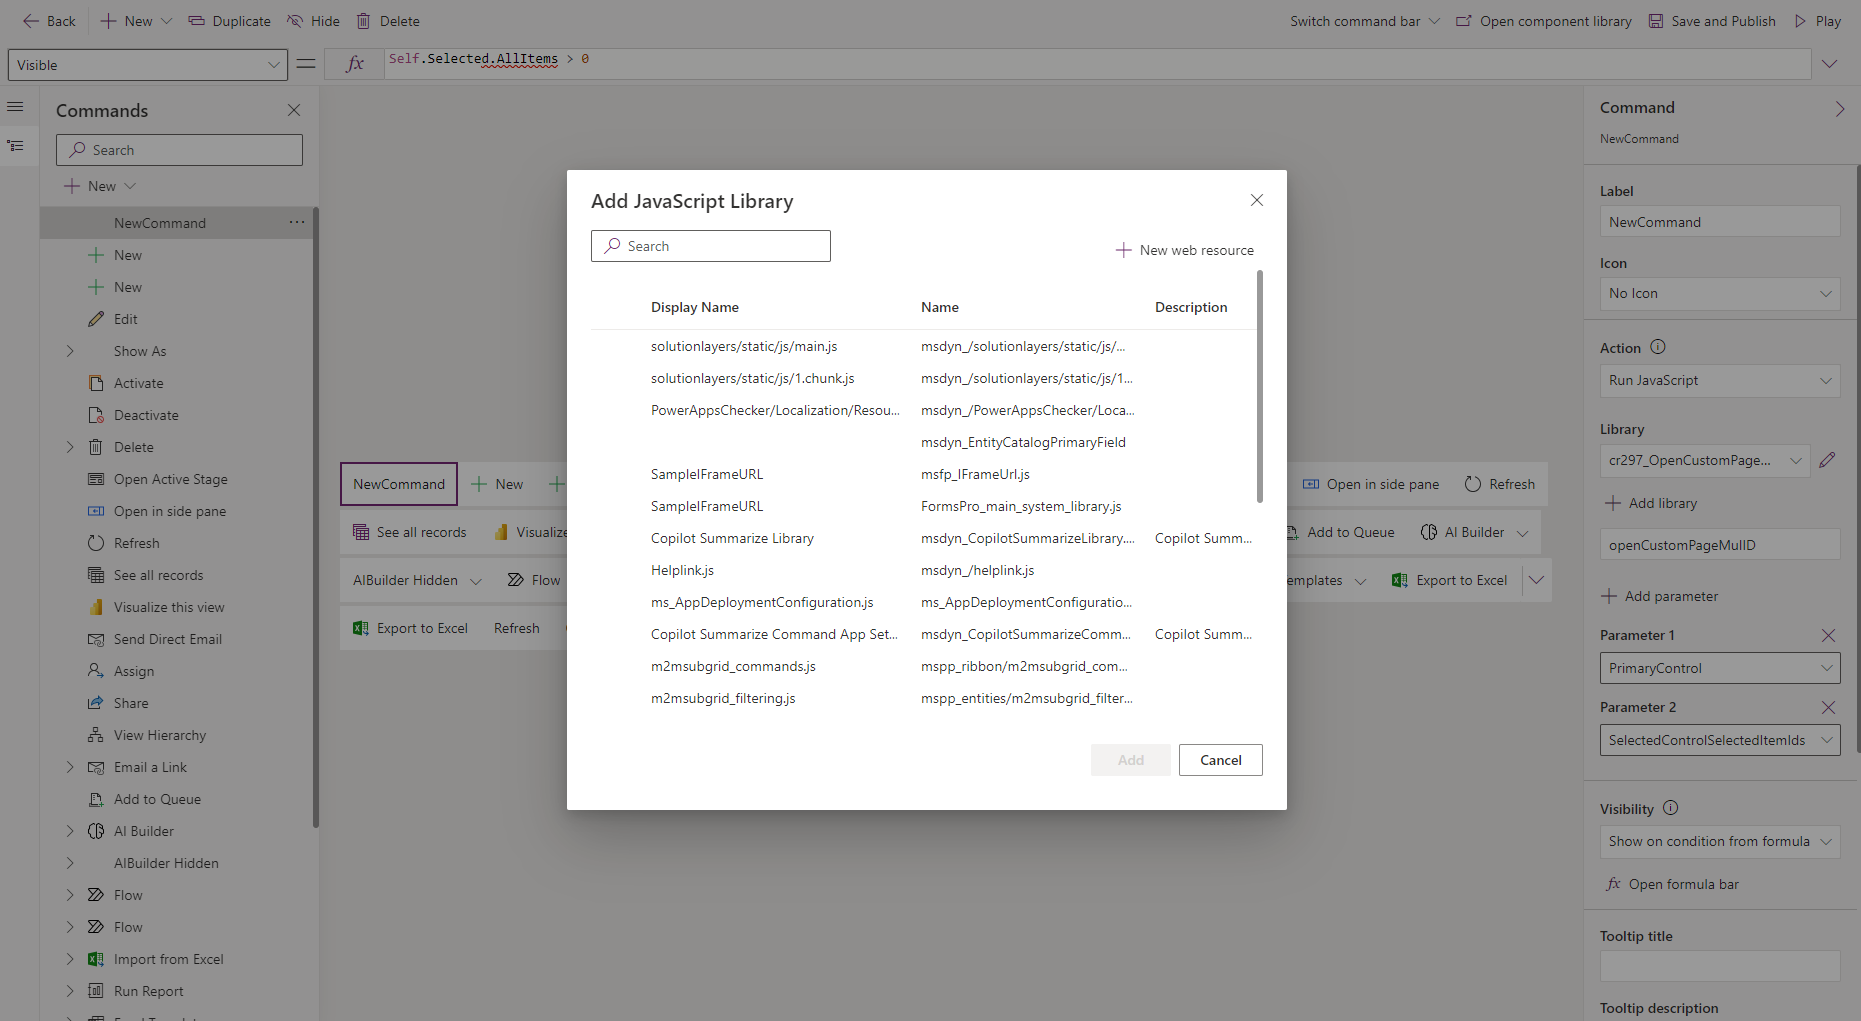
Under function name copy/paste the name of the function exactly as it appears in the .JS file. In this example it's: openCustomPageMulID. Under Parameters add the selectedEntityTypeName and the SelectedControlSelectedItemIds Parameters.
Before saving, under visible, change the formula to:
CountRows(Self.Selected.AllItems) > 0otherwise the button will disappear when selecting a record. I think this is a bug but the above PowerFx is a good starting point to control visibility of the button.
Save the Command bar and return back to the model-driven app editor. You will need to add or create a custom page and add it to the navigation. It MUST be added to the app(hidden or otherwse) or it will not open when you click the button.
If you test the button after publishing, it should now navigate to the custom page once the button is clicked.

Next, we need to add a formula to the the named formula bar so that the record id's passed to the page can be "interpreted" by the app and picked up as full records. to do this, use the following formula:
gblRecordIds = Split(
    Param("recordId"),
    ","
);
this splits the record id's passed to the app, and stored them in a formula variable called gblRecordIds.
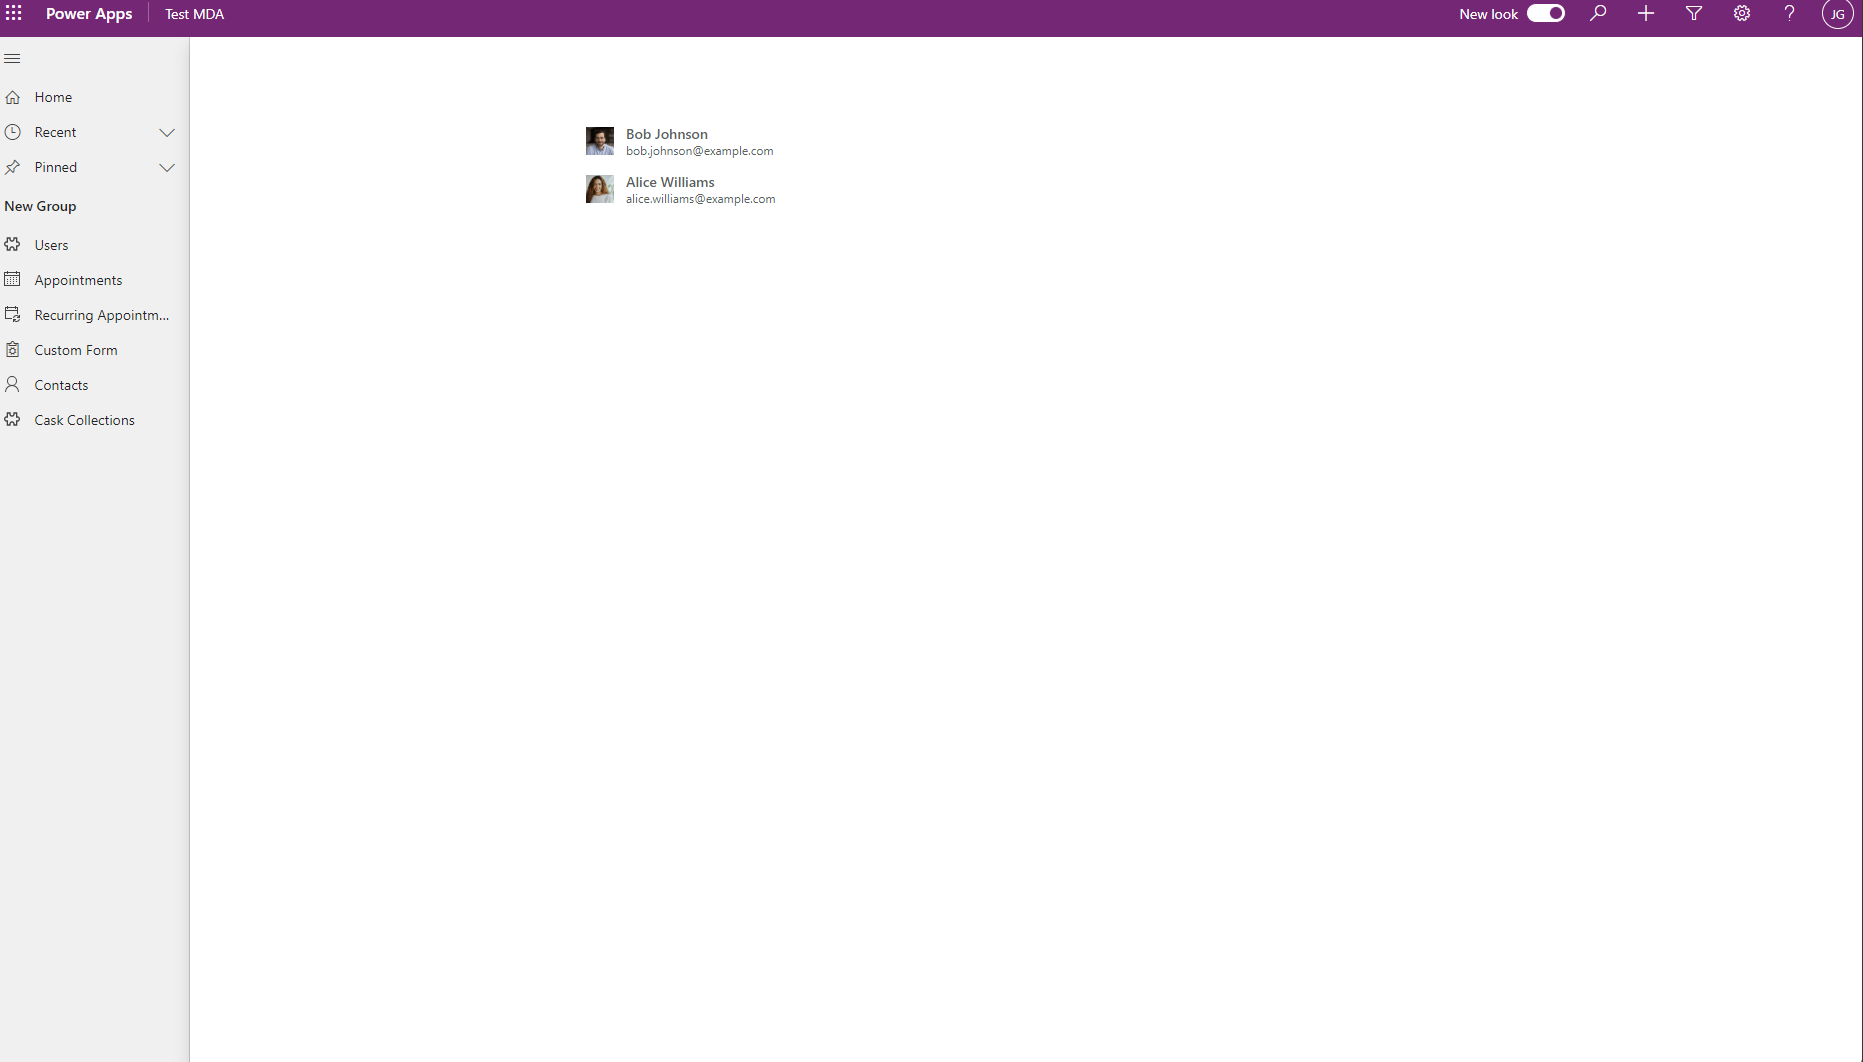
We can now add our table to our page, and add a data table or gallery control and grab the full record context by using the following formula:
Filter(Users, User in gblRecordIds)
In my example, I have used the users table, and once saved. we can test the page by publishing the app, playing it and seeing our records passed to our gallery.

Member discussion: